I was asked to provide recipes and instructions to make homemade candles. Well… ask and you shall receive!
Homemade candles have become very popular over the years. If you love having candles in your home, or giving them as gifts, then you are well aware at how expensive they are in stores. The easy solution? Make your own!

Homemade candles are completely customizable, from the container to the fragrance and color. You can also add Citronella to make you own Bug Away candles. These type of options make them perfect for gifts for your friends and family, or just make a bunch and keep them for yourself 😉
Enough chit chat, let’s get started.
Choose what type of was you want to use:
- Soy Wax – is easy to use and easy to clean-up, it is eco-friendly and renewable. It also is know to burn slower.
- Paraffin Wax – the most traditional of the waxes, melts quickly, is inexpensive, and takes color and scent well.
- Beeswax – all natural with air-purifying qualities, tends not to take scent and color well. Essential oils will work with Beeswax, but keep in mind that Beeswax has it’s own aroma.
- Recycled wax from old candles will suffice as well
Here is what you will need for the whole process :
- Wax
- Candle Wick – suitable for type of wax
- Container(s)
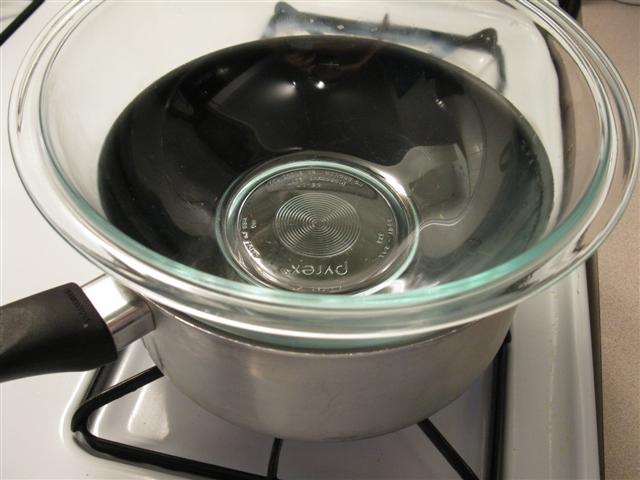
- Double Boiler – or a saucepan and glass bowl big enough to sit over the pot
- Food Thermometer
- Fragrance or Essential Oils
- Colorant
READY? SET. GO!
Melt your wax. To determine how much wax you will need, see the following (sorry, for the math problems, who wants to see those in the middle of project, right?)
**ounces of wax needed per container x number of container = total ounces needed
**total ounces needed / 16 = total pounds of wax needed
Place wax in top of the double boiler, heat over medium-low heat. Keep an eye on the wax, stir to distribute the heat evenly.
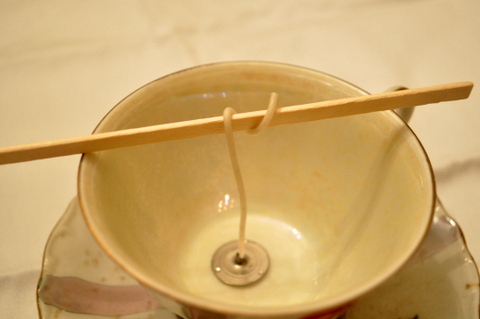
In the mean time, place your wick in your container. You will need to secure it to the bottom with a dab of hot glue, hold it in place while the glue dries. You will want your wick to remain in the middle of the container. I suggest using a pencil or something of the sort. Wrap the end of your wick around the and set it on top of the container.
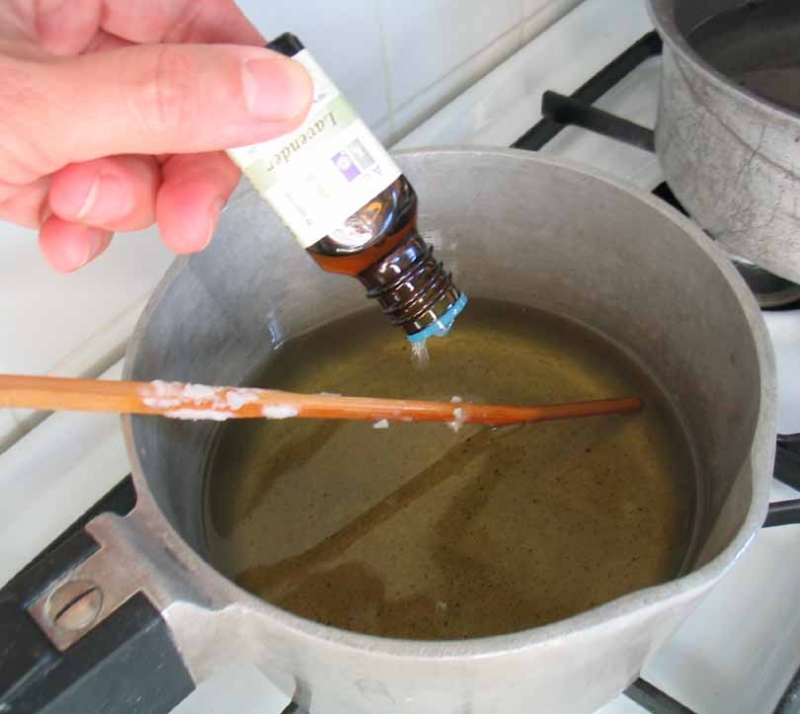
When the wax is completely melted, let it cool a bit before adding your fragrance or essential oils and/or colorant (optional). If you purchase your wax in a store, the package will typically tell you what temperature the wax should be at when adding fragrance and colorant. This is where the thermometer comes into play. The same goes for fragrance made solely for candle making, the package will tell you how much should be used per amount of wax.
If you are using essential oils to scent your candles, go by the strength of the essential oil. For stronger oils, start with adding 10 drops. For oils that are not as potent, start with adding 20 drops. Stir and smell, then decide if you want to add more. It is important to scent the candle to you personal preference, especially when using essential oils.
When you are done adding your fragrance and colorant, mix it thoroughly. Pour the wax into the container of your choice and let cool. When the wax is completely cool, up to 24 hours. Then, wait 1 week before burning the candle.
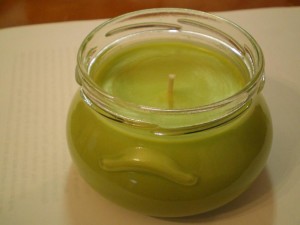

There you have it, the steps are easy and when you’re done you will have something great to show off!
All kinds of wax can be found here.
I also have all of the essential oils you could want here.
I hope you enjoy your candle making, please leave a comment below and let me know how your candles turned out. Or, if you have any container suggestions, please share them below.